You’re hitting a solid third shot drop, moving forward, and suddenly your opponent drives the ball right at your feet. You scramble, hit it into the net. Game over.
Here’s the thing: mastering the transition zone isn’t about faster footwork—it’s about reading the game and positioning yourself before the ball even crosses the net.
What Is the Transition Zone in Pickleball
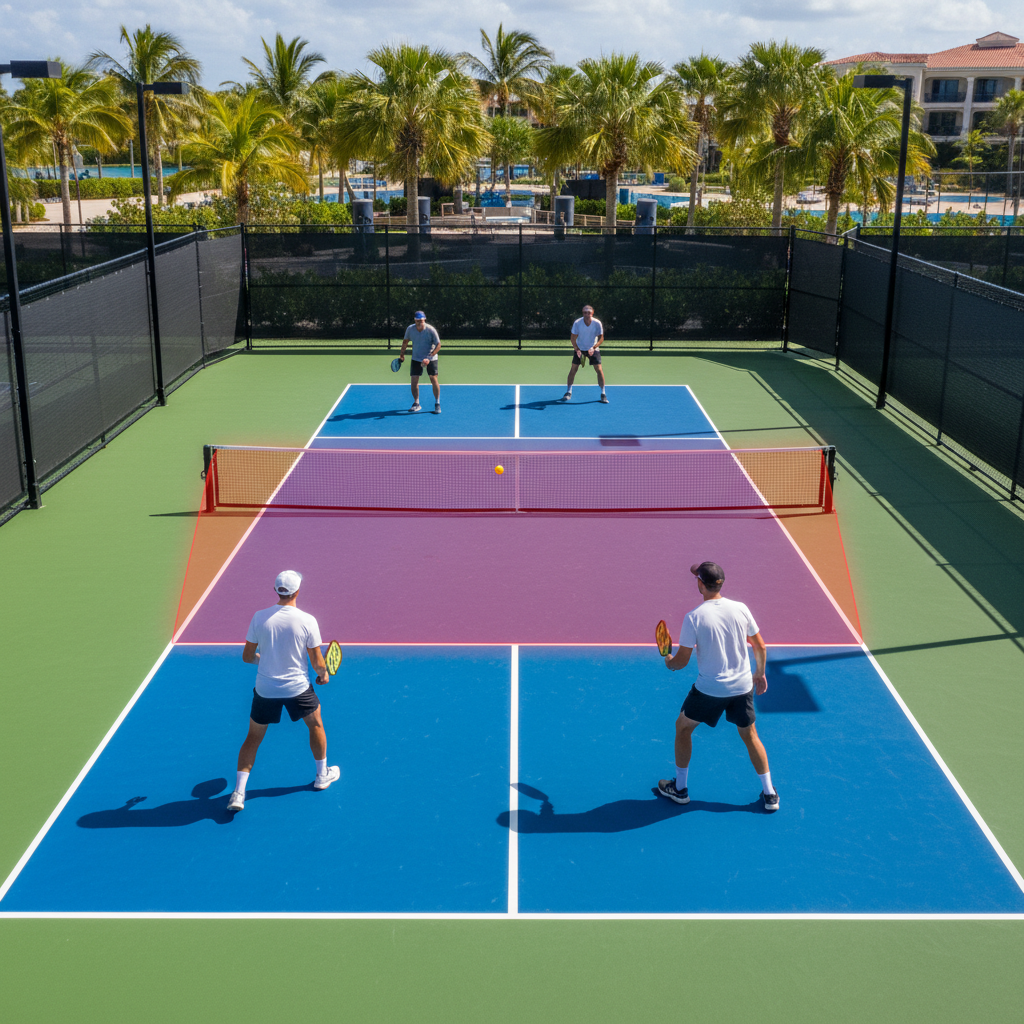
The transition zone in pickleball is the critical court area between the baseline and the non-volley zone line. This 14-foot space determines whether you’ll be playing offense or defense for the next several shots. It’s where most rallies are won or lost.
Understanding Transition Zone Dynamics
The transition zone is where strategy meets execution. You’re not just moving forward—you’re calculating risk versus reward with every step.
Reading Your Opponent’s Position
Watch your opponent’s paddle face and body position before they make contact. If their paddle is low and they’re balanced, expect a drop shot. High paddle with forward lean? Here comes the drive.
Split step 0.7 seconds before they contact the ball. This timing gives you the reaction window you need.
Identifying Movement Opportunities
Move forward only when you’ve hit a quality shot that forces your opponent below net level. Poor shots keep you planted. Quality shots earn you real estate.
The best transition zone players advance in 2-3 controlled steps, not one giant leap toward the kitchen line.
Strategic Movement Techniques
The Controlled Shuffle Step
Take shuffle steps with your outside foot leading. Keep your feet parallel to the net, never crossing your legs. This maintains balance and lets you change direction instantly.
Your first step should be 18-24 inches. Smaller steps maintain control.
Paddle Preparation Position
Hold your paddle at chest height with the face slightly open. This neutral position lets you react to both drives and drops without major adjustments.
Keep your non-dominant hand pointing toward the ball. We call this the “tracking hand”—it helps you judge distance and timing.
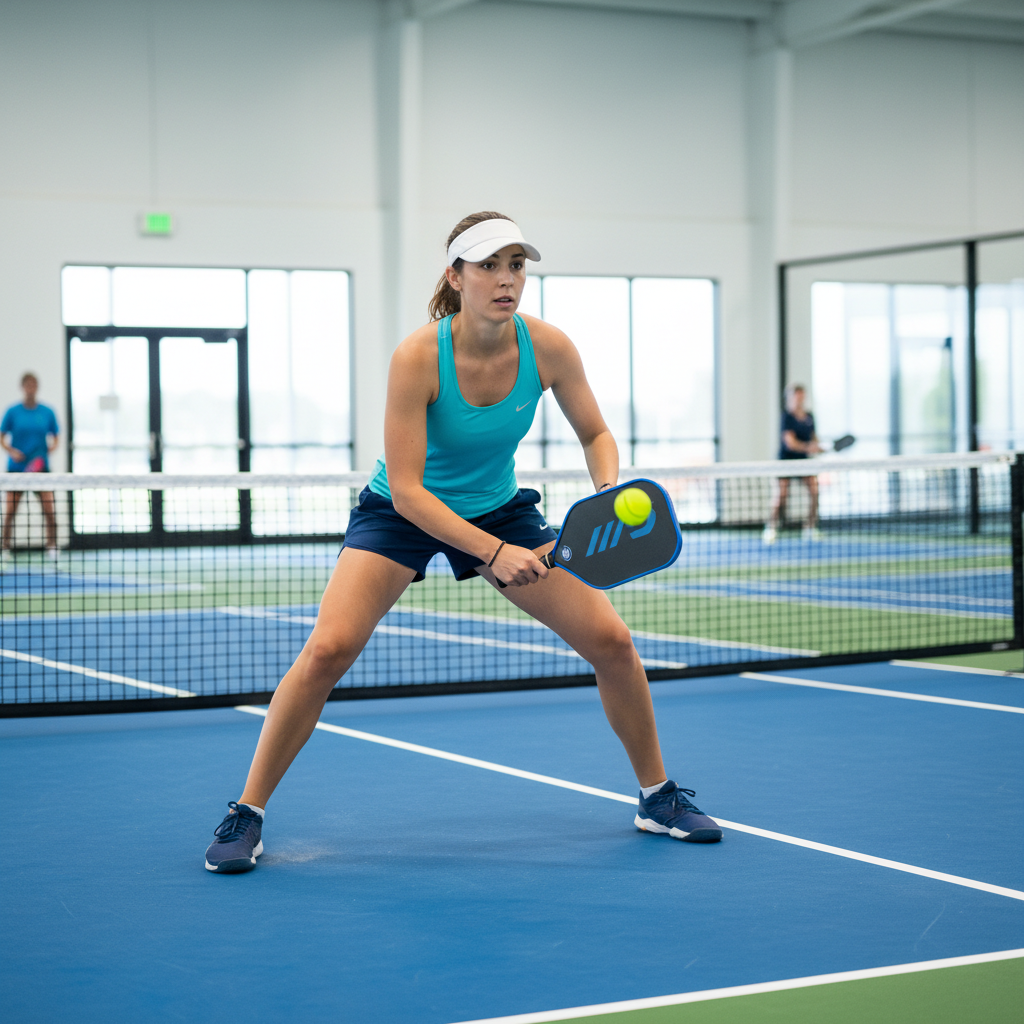
Body Positioning for Quick Reactions
Stay in an athletic stance with your weight on the balls of your feet. Knees slightly bent, ready to move in any direction.
Your shoulders should be square to the net, not turned toward your target. This keeps you balanced for quick lateral movement.
Common Transition Zone Mistakes
Moving Too Quickly
Here’s what separates 3.5 players from 4.0+: patience in the transition zone. Rushing forward after a mediocre shot puts you in no-man’s land.
Wait for your opponent to hit below net level before advancing. One more step back is better than one step too far forward.
Poor Paddle Readiness
Dropping your paddle below waist level is a killer mistake. You can’t react fast enough to drives when your paddle starts low.
Keep it up. Always up.
Incorrect Body Alignment
Turning your body toward your intended target telegraphs your shot. Stay neutral until the last possible moment.
Your feet should point toward the net, not toward where you plan to hit the ball.
Advanced Transition Zone Strategies
Anticipation Techniques
In my experience coaching 4.0+ players, the best transition zone players watch their opponent’s hips, not the paddle. Hip rotation tells you direction 0.3 seconds earlier than paddle movement.
Practice reading body language during warm-up rallies. Notice how your opponent’s setup changes for different shots.
Defensive vs. Offensive Transitions
When you’re forced to hit up on the ball, move backward 1-2 steps instead of forward. This defensive transition gives you more time to react to the next shot.
Offensive transitions happen after you’ve hit a shot that forces your opponent to hit up. That’s your cue to advance.
Partner Communication
Use simple verbal cues: “stay” means hold position, “go” means advance together. Silent communication works too—the player hitting the shot decides movement for both.
Never advance unless both partners can move together. Split positioning in the transition zone is a recipe for disaster.

The Reset Strategy
When caught in no-man’s land, your priority is getting back to a neutral position. Hit a high, deep shot to buy time, then either advance to the kitchen or retreat to the baseline.
Don’t try to be a hero from the transition zone. Reset and reposition.
Pro Tips for Transition Zone Mastery
Practice the “stop and go” drill: hit a drop shot, take two steps forward, stop, then react to your partner’s return. This builds the patience and control you need in games.
What I’ve found working with competitive players is that transition zone success is 73% mental game and 27% physical technique. Trust your shot selection and commit to your positioning decisions.
The transition zone isn’t about perfect shots—it’s about perfect positioning for the next shot.
FAQ
How do I improve my transition zone movement? Practice the shuffle step drill for 10 minutes before each session. Focus on small, controlled steps with your paddle at chest height. Work on stopping and starting quickly rather than continuous movement.
What are the biggest risks in the transition zone? Getting caught between positions is the biggest risk. You’re too close to handle drives effectively but too far back to attack short balls. Always commit to advancing or retreating based on your shot quality.
How can I practice transition zone skills? Set up cones at the baseline and kitchen line. Practice moving between these positions based on ball height. Hit below net level = advance one zone. Hit above net level = retreat one zone.
When should I stay back versus moving forward? Move forward only after hitting a shot that forces your opponent below net level. If your shot lands short but your opponent can still attack, stay back. Quality of your shot determines your movement, not court position.
How do pro players handle transition zone challenges? Pro players focus on shot selection over positioning. They hit shots that earn them the right to advance rather than moving forward and hoping for the best. They also communicate constantly with their partner about positioning decisions.